
 chamanbravo
En fouillant GitHub comme un cochon qui veut trouver des truffes, je suis tombé sur une application de monitoring intéressante.

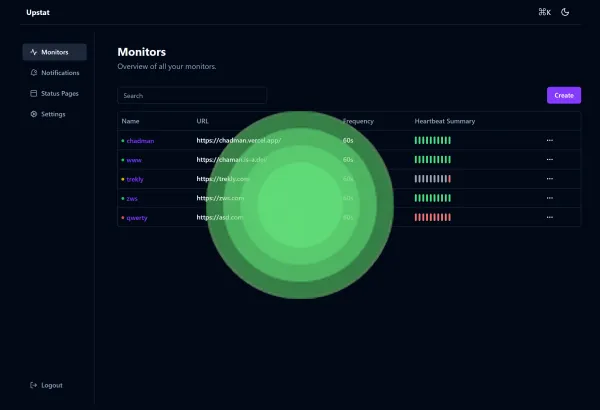
Aujourd'hui on va parler de Upstat! Une application de monitoring de vos services très simple d'utilisation, avec le tutoriel qui va suivre, Upstat n'aura plus de secret pour vous!
⚡Caractéristiques
- Surveillance des status HTTP(s).
- Graphique de l'état et de la latence.
- Notifications via Discord.
- Intervalles de 60 secondes.
- Interface utilisateur et interface graphique (UI/UX) réactive et rapide.
- Pages d'état multiples.
- Mapper les pages d'état à des domaines spécifiques.
- Tableau des pings.
- Informations sur les certificats.
- PWA.
💾 L'installation
- Créez votre compose.yml dans le dossier où vous comptez installer Upstat:
sudo nano compose.yml- Collez ça dedans en prenant soin d'adapter les ports et les volumes suivant votre configuration:
version: "3.4"
services:
  db:
    restart: unless-stopped
    image: postgres:13-alpine
    environment:
      - POSTGRES_DB=upstat
      - POSTGRES_PASSWORD=postgres
    volumes:
      - postgres_data:/var/lib/postgresql/data
    healthcheck:
      test: ["CMD-SHELL", "pg_isready -U postgres"]
      interval: 5s
      timeout: 5s
      retries: 5

  api:
    restart: unless-stopped
    image: chamanbravo/upstat-api:latest
    environment:
      - DB_TYPE=postgres
      - POSTGRES_DSN=postgres://postgres:postgres@db:5432/upstat?sslmode=disable
      - JWT_SECRET_KEY=asdfjaskljdaq123#!@810248)_+12
    depends_on:
      db:
        condition: service_healthy

  web:
    restart: unless-stopped
    image: chamanbravo/upstat-web:latest
    ports:
      - "3025:3000"
    depends_on:
      - api
      - db

volumes:
postgres_data:- On va déployer l'application:
docker-compose up -d
ou avec docker-compose V2:
docker compose up -d- Rendez-vous sur l'ip:port, suivant l'IP de votre serveur local et du port choisi, 3025 par défaut:
http://ip:3025/ou votre domaine:
https://mondomaine.com👤 Création du compte administrateur
Lors du premier lancement de l'application, il vous sera demandé de créer un compte administrateur:
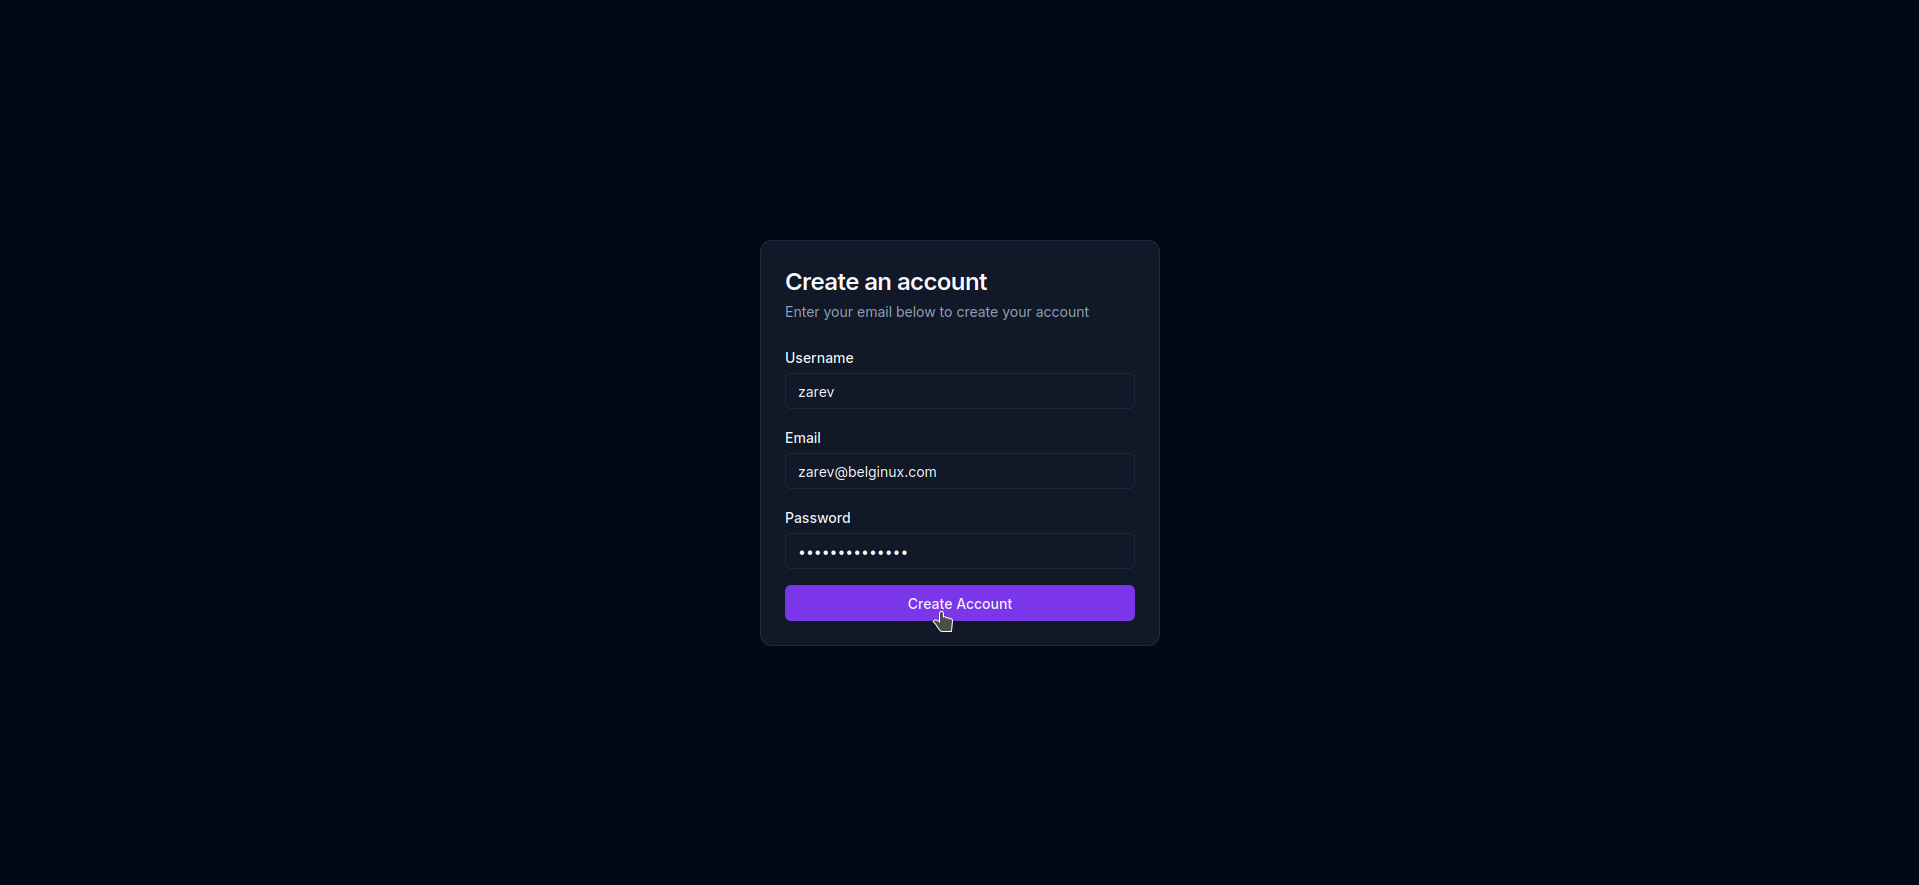
- Username => Choisissez un nom d'utilisateur.
- Email => Indiquez une adresse e-mail.
- Password => Choisissez un mot de passe fort.
Cliquez sur Create Account, vous serez redirigé vers le tableau de bord:
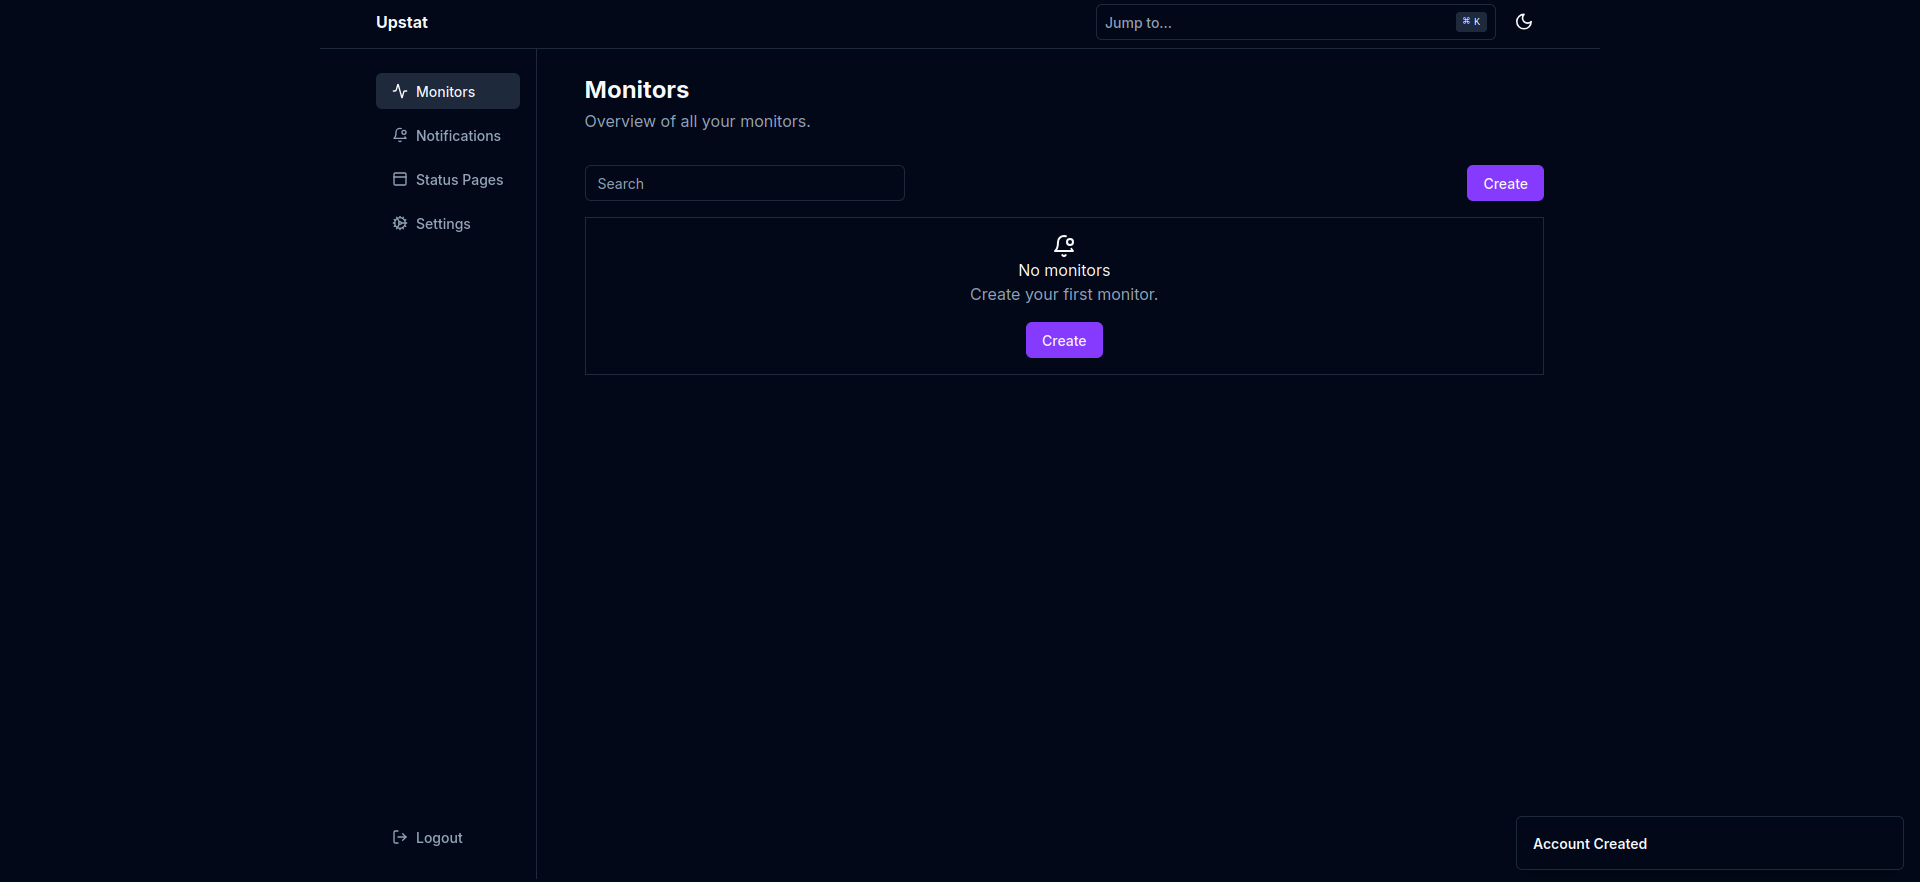
🐋 Ajouter un service en monitoring
Cliquez sur Create:

Remplissez les informations demandées:
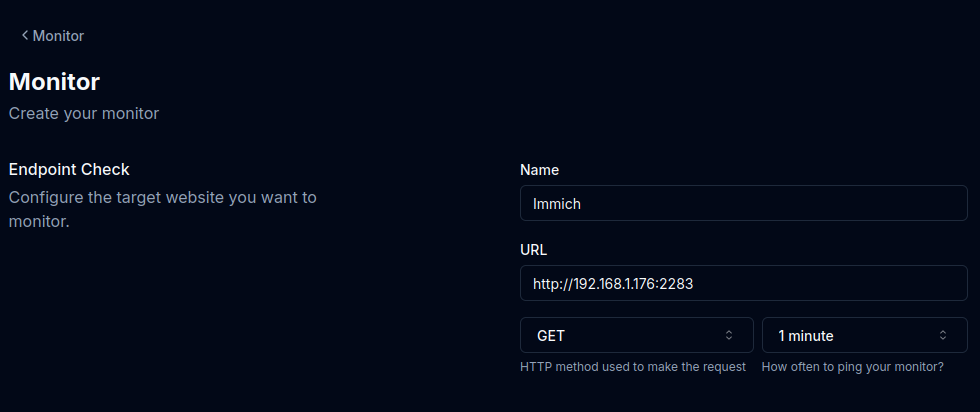
- Name => Nommez l'application, le service, la page web.
- URL => Indiquez soit le nom de domaine ou http://ip:port.
- HTTP method used to make the request => GET
- How often to ping your monitor? => Soit 1, 5, 15, 30, 60 minute(s).
Cliquez sur Submit, dans le fond de la page, pour terminer:
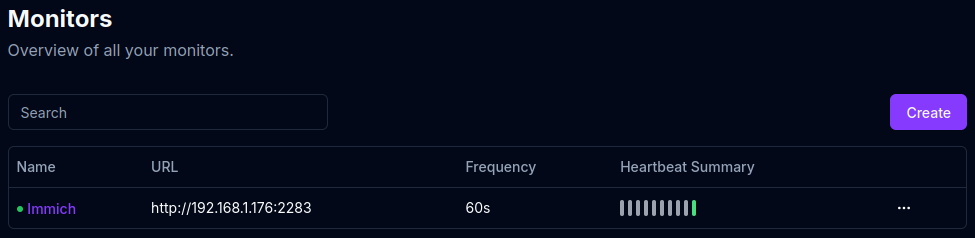
Ce qui donne:
🔔 Notifications
Pour le moment, il n'y a que Discord comme système de notification, il va falloir créer un webhook.
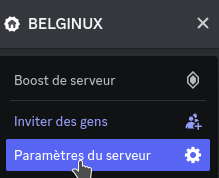
Rendez-vous sur votre serveur Discord et cliquez sur Paramètres du serveur:
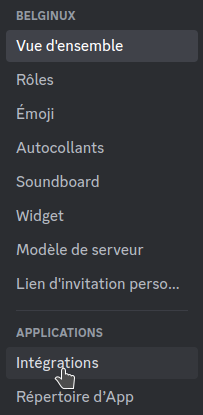
Ensuite cliquez sur Intégrations:
Cliquez sur Créer un webhook:

Discord va créer un webhook, cliquez dessus:

Configurez votre webhook:
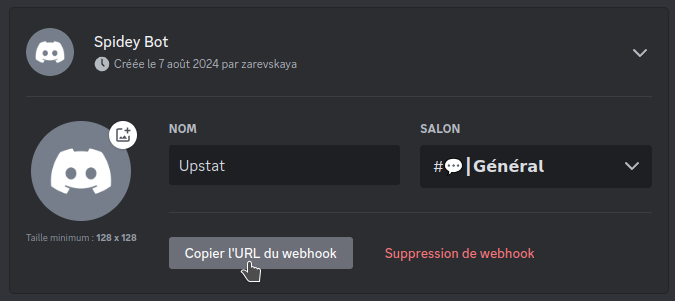
- Nom => Nommez-le comme vous voulez.
- Salon => Choisissez dans quel salon le message doit-être envoyé.
- Facultatif, vous pouvez choisir une icône.
Copiez l'URL du webhook (gardez l'URL au chaud pour après) et terminez en cliquant sur Enregistrer les notifications:

Retournez dans l'application Upstat.
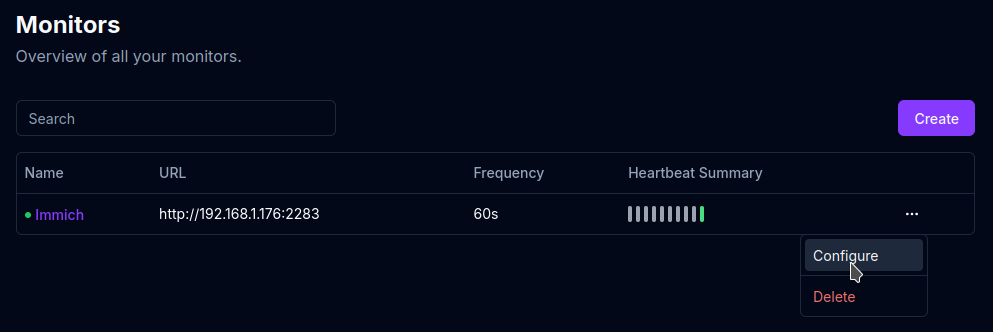
On va continuer sur l'exemple d'Immich, en bout de ligne, cliquez sur les ... et choisissez Configure:

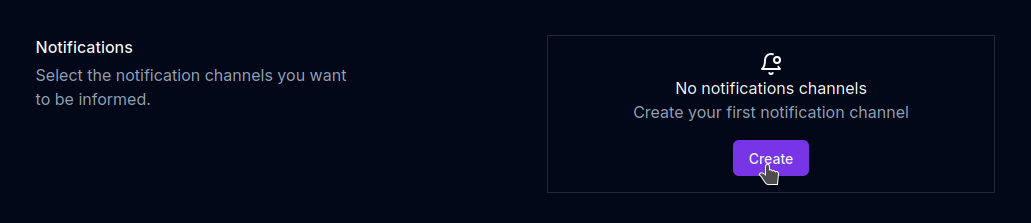
Dans la partie Notifications, cliquez sure Create:
Remplissez les informations demandées:
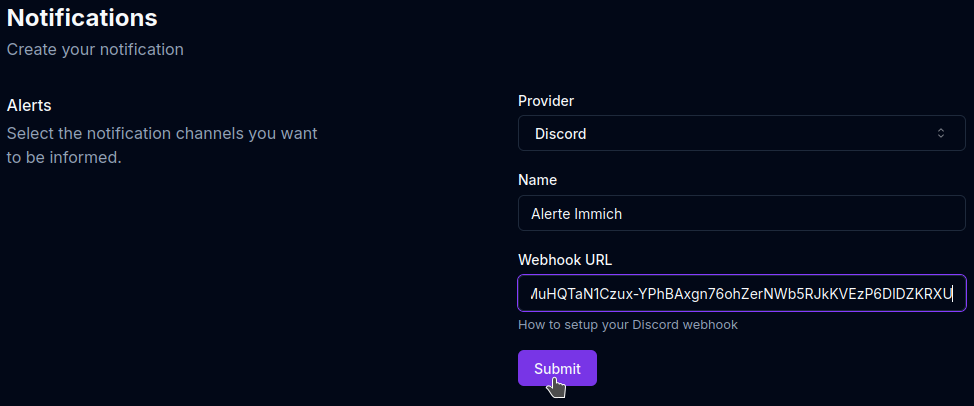
- Provider => Discord, pour le moment vous n'avez pas le choix.
- Name => Nommez votre alerte.
- Webhook URL => Collez l'URL copiée précédemment.
Terminez en cliquant sur Submit.
Retournez dans la partie Notifications et cochez Discord:

Sauvez en cliquant sur Submit.
Je vais stopper le service Immich pour déclencher une alerte après 60 secondes:
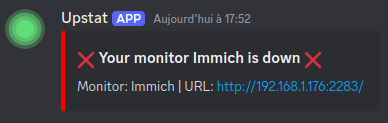
La notification a bien été envoyée. Je vais relancer le service:
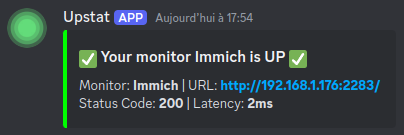
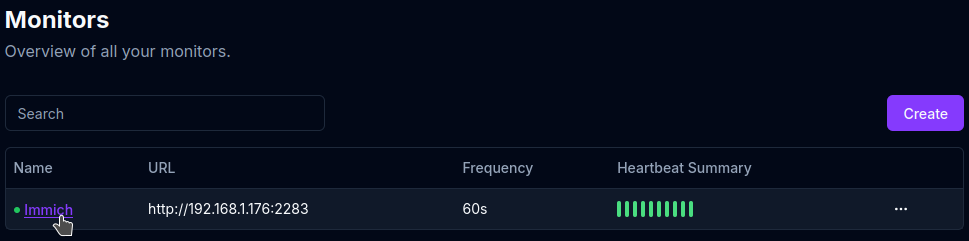
Tout est en ordre, ça fonctionne bien.
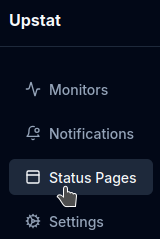
🚦 Page des status
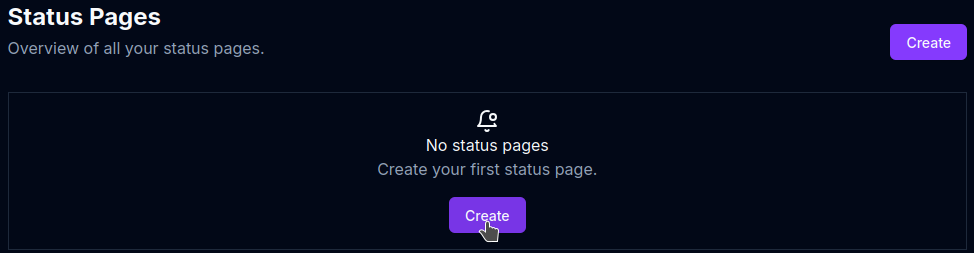
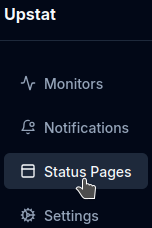
Pour créer un page de statut cliquez sur Status Pages:
Cliquez sur Create:
Deux petites infos à compléter:
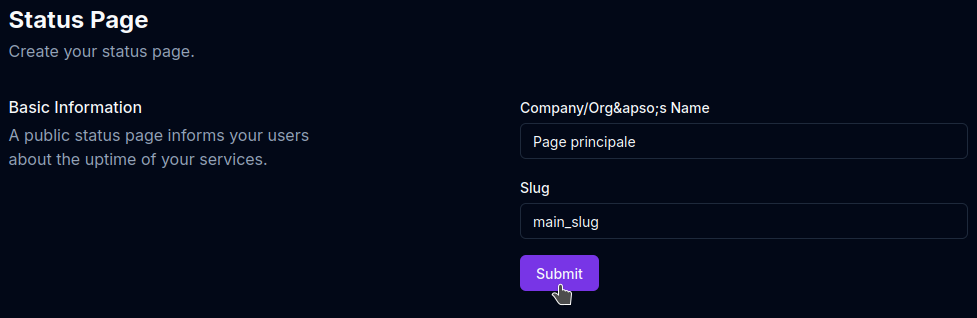
- Company/Org/Name => Nommez cette page comme bon vous semble.
- Slug => Choisissez un slug. Peu importe le nom.
Cliquez sur Submit pour terminer.
Retournez sur le service concerné en cliquant sur Configure:
Dans la partie Status Pages, cochez la page crée précédemment, terminez en cliquant sur Submit:

Pour visiter la page des status, cliquez sur Status Pages:
Vous arriverez ici:

Cliquez sur Visit et voici la page des status:

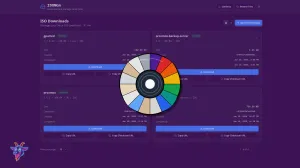
📊 Statistiques
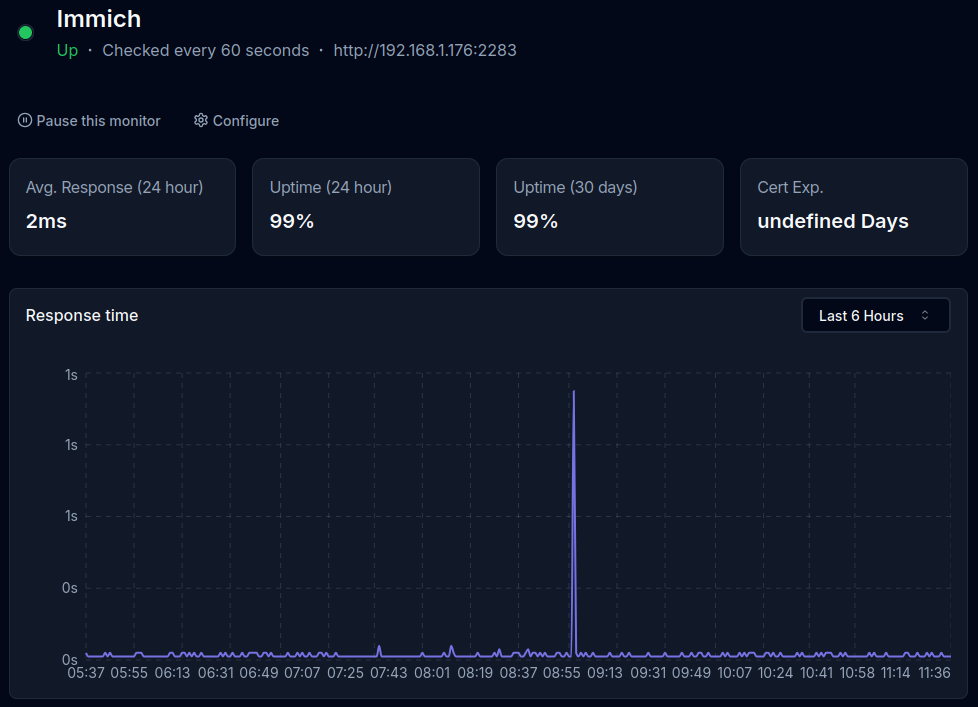
Vous pouvez afficher les statistiques d'un service en cliquant dessus:
Ce qui donne:
Vous pourrez mettre en pause le monitoring ou revoir la configuration:


