
 cryptpad
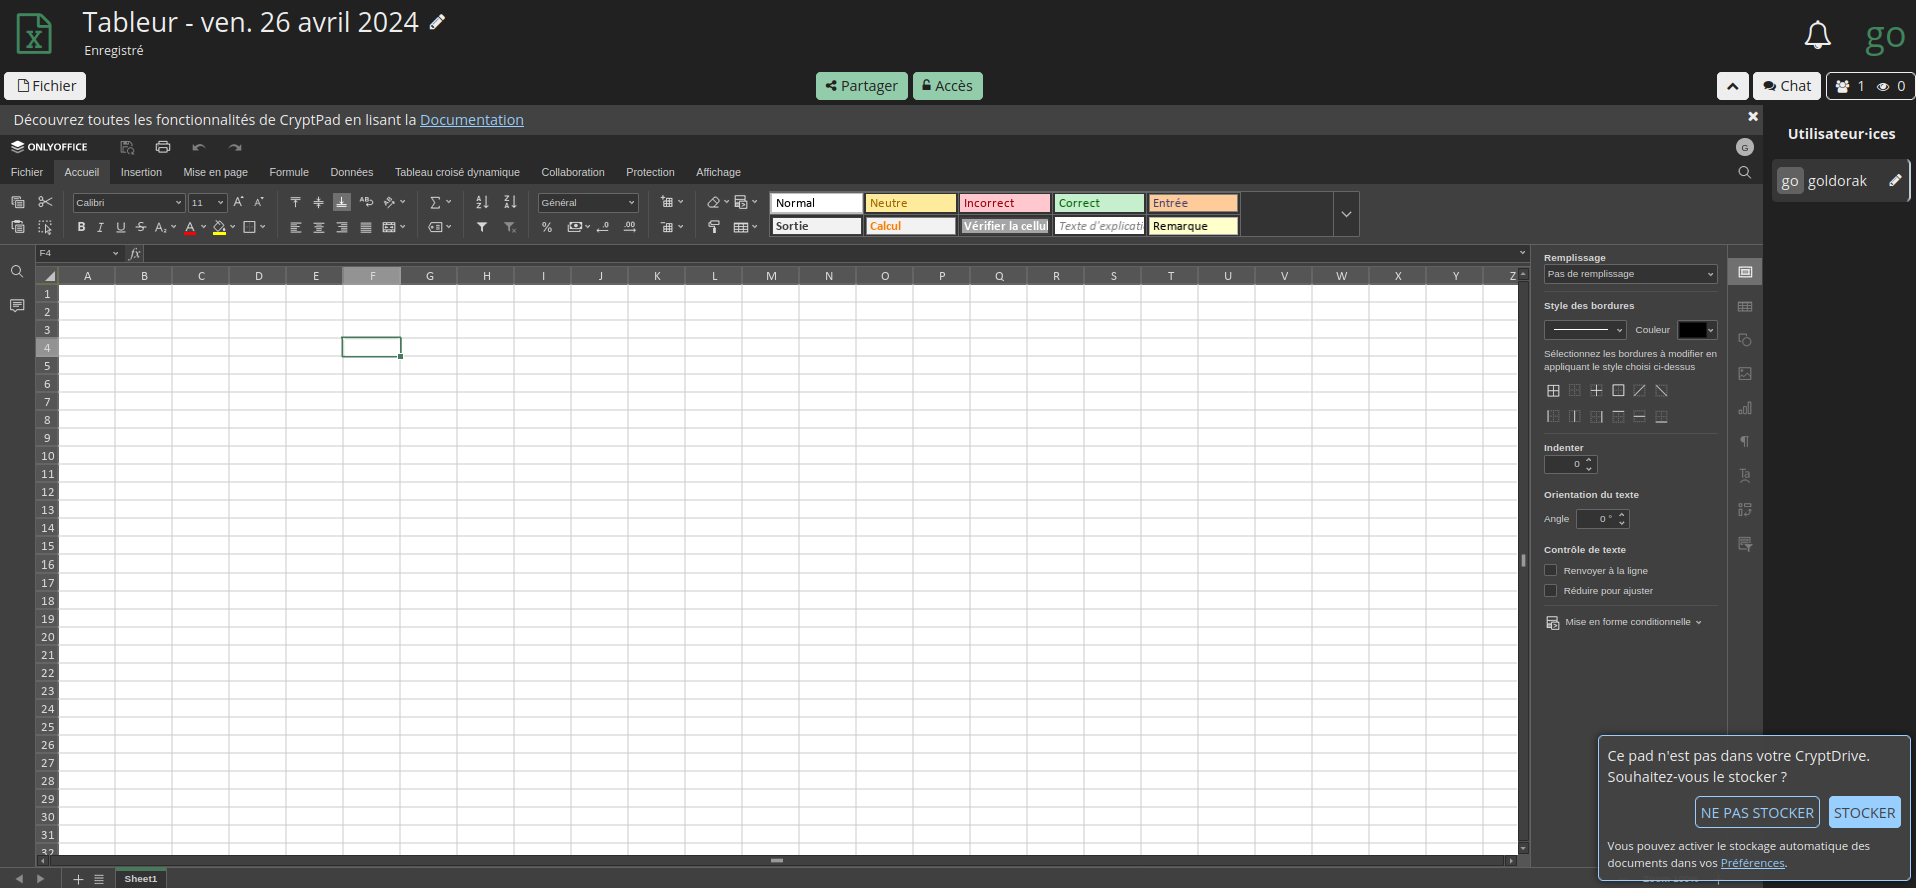
CryptPad est une suite collaborative chiffrée de bout en bout et open-source, un outil vraiment formidable une fois installé! Allez, c'est parti!
L'idée de créer cet article est venue lors d'une discussion avec Metakw sur Discord.
Pour cette application il faudra faire pointer deux domaines sur le port 3000.
On va donc créer deux URL's qui auront respectivement comme sous-domaine:
- cryptpad.domaine.com
et
- sandbox.domaine.com
Vous pouvez bien entendu choisir les noms que vous voulez.
Pourquoi deux URL's? Comme le dit la documentation:
* Le domaine principal sur lequel les utilisateurs accèdent à votre instance.
* Un domaine ou sous-domaine « sandbox » auquel un ensemble d'en-têtes restrictifs de politique de sécurité du contenu est appliqué.
Avec Cosmos Cloud, il faut tout simplement ajouter les deux domaines qui pointent vers l'IP locale de votre serveur, sur le port 3000, en mode proxy comme ceci:

Dans les options de sécurité, sur l'URL de la sandbox, cocher Disable Header Hardening:
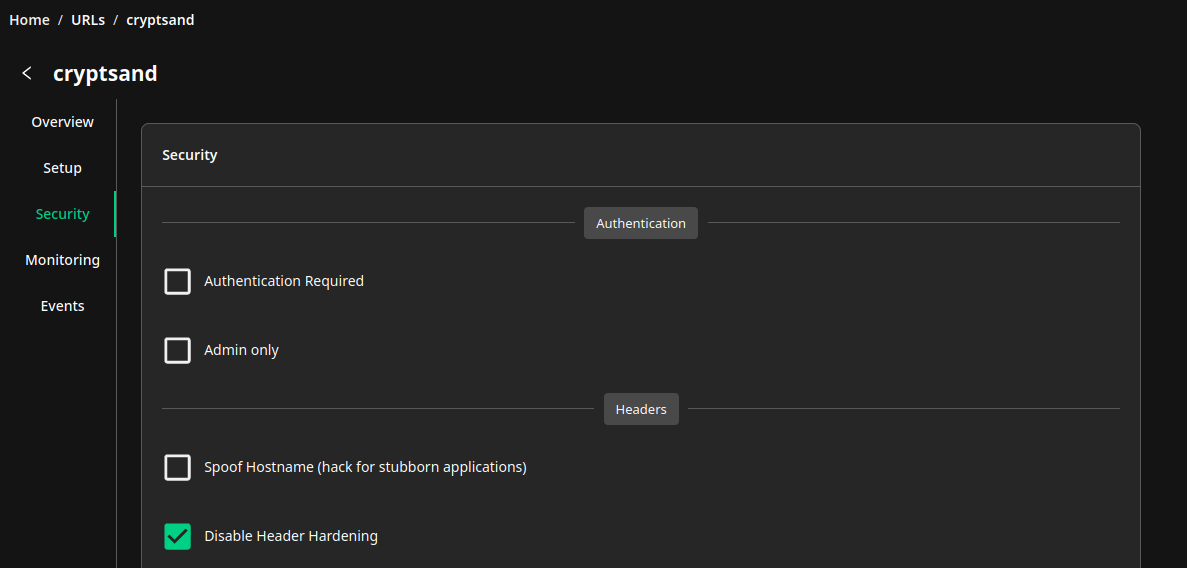
N'oubliez pas de sauver en cliquant sur Save:

Proxy avec Nginx, cliquez ici si vous avez besoin d'informations complémentaires.
N'oubliez pas d'indiquer les deux domaines et les informations SSL:
# SPDX-FileCopyrightText: 2023 XWiki CryptPad Team <contact@cryptpad.org> and contributors
#
# SPDX-License-Identifier: AGPL-3.0-or-later

#   This file is included strictly as an example of how Nginx can be configured
#   to work with CryptPad. This example WILL NOT WORK AS IS. For best results,
#   compare the sections of this configuration file against a working CryptPad
#   installation (http server by the Nodejs process). If you are using CryptPad
#   in production and require professional support please contact sales@cryptpad.fr

server {
    listen 443 ssl http2;
    listen [::]:443 ssl http2;

    # Let's Encrypt webroot
    include letsencrypt-webroot;

    # CryptPad serves static assets over these two domains.
    # `your-main-domain` is what users will enter in their address bar.
    # Privileged computation such as key management is handled in this scope
    # UI content is loaded via the `your-sandbox-domain`.
    # "Content Security Policy" headers prevent content loaded via the sandbox
    # from accessing privileged information.
    # This setup allows to take advantage of CryptPad's sandboxing techniques.
    # In the event of an XSS vulnerability in CryptPad's front-end code
    # this will limit the amount of information accessible to attackers.
    server_name your-main-domain.com your-sandbox-domain.com;

    # You'll need to Set the path to your certificates and keys here
    # IMPORTANT: this config is intended to serve assets for at least two domains
    # (your main domain and your sandbox domain). As such, you'll need to generate a single SSL certificate
    # that includes both domains in order for things to work as expected.
    ssl_certificate /etc/ssl/lets-encrypt/your-main-domain.com/cert;
    ssl_certificate_key /etc/ssl/lets-encrypt/your-main-domain.com/key;

    # diffie-hellman parameters are used to negotiate keys for your session
    # generate strong parameters using the following command
    ssl_dhparam /etc/nginx/dhparam.pem; # openssl dhparam -out /etc/nginx/dhparam.pem 4096

    # Speeds things up a little bit when resuming a session
    ssl_session_timeout 1d;
    ssl_session_cache shared:MozSSL:10m;
    ssl_session_tickets off;

    ssl_protocols TLSv1.2 TLSv1.3;
    ssl_ciphers ECDHE-ECDSA-AES128-GCM-SHA256:ECDHE-RSA-AES128-GCM-SHA256:ECDHE-ECDSA-AES256-GCM-SHA384:ECDHE-RSA-AES256-GCM-SHA384:ECDHE-ECDSA-CHACHA20-POLY1305:ECDHE-RSA-CHACHA20-POLY1305:DHE-RSA-AES128-GCM-SHA256:DHE-RSA-AES256-GCM-SHA384;
    ssl_prefer_server_ciphers off;

    # HSTS (ngx_http_headers_module is required) (63072000 seconds)
    add_header Strict-Transport-Security "max-age=63072000; includeSubDomains" always;

    # OCSP stapling
    ssl_stapling on;
    ssl_stapling_verify on;

    # verify chain of trust of OCSP response using Root CA and Intermediate certs
    ssl_trusted_certificate /etc/ssl/certs/ca-certificates.crt;

    # replace with the IP address of your resolver
    resolver 8.8.8.8 8.8.4.4 1.1.1.1 1.0.0.1 9.9.9.9 149.112.112.112 208.67.222.222 208.67.220.220;

    location / {
        proxy_pass            http://localhost:3000;
        proxy_set_header      X-Real-IP $remote_addr;
        proxy_set_header      Host $host;
        proxy_set_header      X-Forwarded-For $proxy_add_x_forwarded_for;
        client_max_body_size  150m;

        proxy_http_version    1.1;
        proxy_set_header      Upgrade $http_upgrade;
        proxy_set_header      Connection upgrade;
    }
}
CryptPad est conçu pour permettre la collaboration, en synchronisant les modifications apportées aux documents en temps réel. Toutes les données étant chiffrées, le service et ses administrateurs n'ont aucun moyen de voir le contenu en cours de modification et de stockage.
⚡Caractéristiques
- Une suite complète d'applications: CryptPad fournit une suite bureautique à part entière avec tous les outils nécessaires à une collaboration productive. Les applications incluent : texte enrichi, feuilles de calcul, code/markdown, Kanban, diapositives, tableau blanc et formulaires.
- Chiffré de bout en bout: Toutes les données sur CryptPad sont cryptées dans le navigateur. Cela signifie qu'aucune donnée lisible ne quitte l'appareil de l'utilisateur. Même les administrateurs du service ne peuvent pas voir le contenu des documents ou des données utilisateur.
- Collaboration privée: CryptPad est conçu pour permettre la collaboration avec des fonctionnalités telles que les disques d'équipe, le calendrier et le partage. Il synchronise les modifications apportées aux documents en temps réel. Toutes les données étant cryptées, le service et ses administrateurs n'ont aucun moyen de voir le contenu en cours de modification et de stockage.
- Entièrement open source: CryptPad est un logiciel gratuit. N’importe qui peut héberger la plateforme à titre personnel ou professionnel. L'équipe de développement propose des abonnements et des contrats de support pour des déploiements prêts à l'emploi.
- Disponible dans 19 langues.

L'installation
- On va commencer par cloner le dépôt:
sudo git clone https://github.com/cryptpad/cryptpad.git- On va se rendre dans le dossier cryptpad:
cd cryptpad- On va supprimer le docker-compose:
sudo rm docker-compose.yml- On va créer le docker-compose modifié. Je veux dire par là que j'ai fait les modifications pour installer OnlyOffice et j'ai ajouté la ligne nécessaire pour monter le config.js.
sudo nano docker-compose.yml- Collez ça dedans:
# SPDX-FileCopyrightText: 2023 XWiki CryptPad Team <contact@cryptpad.org> and contributors
#
# SPDX-License-Identifier: AGPL-3.0-or-later

---
version: '3.8'

services:
  cryptpad:
    image: "cryptpad/cryptpad:version-2024.3.0"
    container_name: cryptpad
    hostname: cryptpad

    environment:
      - CPAD_MAIN_DOMAIN=https://cryptpad.domaine.com
      - CPAD_SANDBOX_DOMAIN=https://sandbox.domaine.com
      - CPAD_CONF=/cryptpad/config/config.js
      - CPAD_INSTALL_ONLYOFFICE=yes

    volumes:
      - ./data/blob:/cryptpad/blob
      - ./data/block:/cryptpad/block
      - ./customize:/cryptpad/customize
      - ./data/data:/cryptpad/data
      - ./data/files:/cryptpad/datastore
      - ./onlyoffice-dist:/cryptpad/www/common/onlyoffice/dist
      - ./onlyoffice-conf:/cryptpad/onlyoffice-conf
      - ./config/config.js:/cryptpad/config/config.js

    ports:
      - "3000:3000"
      - "3001:3001"
      - "3003:3003"

    ulimits:
      nofile:
        soft: 1000000
        hard: 1000000
Veillez à modifier:
- - CPAD_MAIN_DOMAIN=https://cryptpad.domaine.com => indiquez votre domaine principal à la place de https://cryptpad.domaine.com.
- - CPAD_SANDBOX_DOMAIN=https://sandbox.domaine.com => indiquez votre domaine sandbox à la place de https://sandbox.domaine.com.
Sauvez le docker-compose.
- On va créer le fichier conf de onlyoffice:
sudo mkdir -p data customize onlyoffice-dist onlyoffice-conf- On va donner les droits nécessaires:
sudo chown -R 4001:4001 data customize onlyoffice-dist onlyoffice-conf- On va créer le config.js:
sudo nano config/config.js- On va coller ça dedans et rendez-vous après ce parchemin pour les détails à éditer:
// SPDX-FileCopyrightText: 2023 XWiki CryptPad Team <contact@cryptpad.org> and contributors
//
// SPDX-License-Identifier: AGPL-3.0-or-later

/* globals module */

/*  DISCLAIMER:

    There are two recommended methods of running a CryptPad instance:

    1. Using a standalone nodejs server without HTTPS (suitable for local development)
    2. Using NGINX to serve static assets and to handle HTTPS for API server's websocket traffic

    We do not officially recommend or support Apache, Docker, Kubernetes, Traefik, or any other configuration.
    Support requests for such setups should be directed to their authors.

    If you're having difficulty difficulty configuring your instance
    we suggest that you join the project's Matrix channel.

    If you don't have any difficulty configuring your instance and you'd like to
    support us for the work that went into making it pain-free we are quite happy
    to accept donations via our opencollective page: https://opencollective.com/cryptpad

*/
module.exports = {
/*  CryptPad is designed to serve its content over two domains.
 *  Account passwords and cryptographic content is handled on the 'main' domain,
 *  while the user interface is loaded on a 'sandbox' domain
 *  which can only access information which the main domain willingly shares.
 *
 *  In the event of an XSS vulnerability in the UI (that's bad)
 *  this system prevents attackers from gaining access to your account (that's good).
 *
 *  Most problems with new instances are related to this system blocking access
 *  because of incorrectly configured sandboxes. If you only see a white screen
 *  when you try to load CryptPad, this is probably the cause.
 *
 *  PLEASE READ THE FOLLOWING COMMENTS CAREFULLY.
 *
 */

/*  httpUnsafeOrigin is the URL that clients will enter to load your instance.
 *  Any other URL that somehow points to your instance is supposed to be blocked.
 *  The default provided below assumes you are loading CryptPad from a server
 *  which is running on the same machine, using port 3000.
 *
 *  In a production instance this should be available ONLY over HTTPS
 *  using the default port for HTTPS (443) ie. https://cryptpad.fr
 *  In such a case this should be also handled by NGINX, as documented in
 *  cryptpad/docs/example.nginx.conf (see the $main_domain variable)
 *
 */
    httpUnsafeOrigin: 'https://cryptpad.domaine.com',

/*  httpSafeOrigin is the URL that is used for the 'sandbox' described above.
 *  If you're testing or developing with CryptPad on your local machine then
 *  it is appropriate to leave this blank. The default behaviour is to serve
 *  the main domain over port 3000 and to serve the sandbox content over port 3001.
 *
 *  This is not appropriate in a production environment where invasive networks
 *  may filter traffic going over abnormal ports.
 *  To correctly configure your production instance you must provide a URL
 *  with a different domain (a subdomain is sufficient).
 *  It will be used to load the UI in our 'sandbox' system.
 *
 *  This value corresponds to the $sandbox_domain variable
 *  in the example nginx file.
 *
 *  Note that in order for the sandboxing system to be effective
 *  httpSafeOrigin must be different from httpUnsafeOrigin.
 *
 *  CUSTOMIZE AND UNCOMMENT THIS FOR PRODUCTION INSTALLATIONS.
 */
    httpSafeOrigin: "https://sandbox.domaine.com",

/*  httpAddress specifies the address on which the nodejs server
 *  should be accessible. By default it will listen on localhost
 *  (IPv4 & IPv6 if enabled). If you want it to listen on
 *  a specific address, specify it here. e.g '192.168.0.1'
 *
 */
    httpAddress: '0.0.0.0',

/*  httpPort specifies on which port the nodejs server should listen.
 *  By default it will serve content over port 3000, which is suitable
 *  for both local development and for use with the provided nginx example,
 *  which will proxy websocket traffic to your node server.
 *
 */
    //httpPort: 3000,

/*  httpSafePort allows you to specify an alternative port from which
 *  the node process should serve sandboxed assets. The default value is
 *  that of your httpPort + 1. You probably don't need to change this.
 *
 */
    //httpSafePort: 3001,

/*  Websockets need to be exposed on a separate port from the rest of
 *  the platform's HTTP traffic. Port 3003 is used by default.
 *  You can change this to a different port if it is in use by a
 *  different service, but under most circumstances you can leave this
 *  commented and it will work.
 *
 *  In production environments, your reverse proxy (usually NGINX)
 *  will need to forward websocket traffic (/cryptpad_websocket)
 *  to this port.
 *
 */
    // websocketPort: 3003,

/*  CryptPad will launch a child process for every core available
 *  in order to perform CPU-intensive tasks in parallel.
 *  Some host environments may have a very large number of cores available
 *  or you may want to limit how much computing power CryptPad can take.
 *  If so, set 'maxWorkers' to a positive integer.
 */
    // maxWorkers: 4,

    /* =====================
     *       Sessions
     * ===================== */

    /*  Accounts can be protected with an OTP (One Time Password) system
     *  to add a second authentication layer. Such accounts use a session
     *  with a given lifetime after which they are logged out and need
     *  to be re-authenticated. You can configure the lifetime of these
     *  sessions here.
     *
     *  defaults to 7 days
     */
    //otpSessionExpiration: 7*24, // hours

    /*  Registered users can be forced to protect their account
     *  with a Multi-factor Authentication (MFA) tool like a TOTP
     *  authenticator application.
     *
     *  defaults to false
     */
    //enforceMFA: false,

    /* =====================
     *       Privacy
     * ===================== */

    /*  Depending on where your instance is hosted, you may be required to log IP
     *  addresses of the users who make a change to a document. This setting allows you
     *  to do so. You can configure the logging system below in this config file.
     *  Setting this value to true will include a log for each websocket connection
     *  including this connection's unique ID, the user public key and the IP.
     *  NOTE: this option requires a log level of "info" or below.
     *
     *  defaults to false
     */
    //logIP: false,

    /* =====================
     *         Admin
     * ===================== */

    /*
     *  CryptPad contains an administration panel. Its access is restricted to specific
     *  users using the following list.
     *  To give access to the admin panel to a user account, just add their public signing
     *  key, which can be found on the settings page for registered users.
     *  Entries should be strings separated by a comma.
     *  adminKeys: [
     *      "[cryptpad-user1@my.awesome.website/YZgXQxKR0Rcb6r6CmxHPdAGLVludrAF2lEnkbx1vVOo=]",
     *      "[cryptpad-user2@my.awesome.website/jA-9c5iNuG7SyxzGCjwJXVnk5NPfAOO8fQuQ0dC83RE=]",
     *  ]
     *
     */
/*    adminKeys: [
	"[xxxxxxxxxxxxxxxxxxxxxxxxxxxxxxxxxxxxx]",

    ],

    /* =====================
     *        STORAGE
     * ===================== */

    /*  Pads that are not 'pinned' by any registered user can be set to expire
     *  after a configurable number of days of inactivity (default 90 days).
     *  The value can be changed or set to false to remove expiration.
     *  Expired pads can then be removed using a cron job calling the
     *  `evict-inactive.js` script with node
     *
     *  defaults to 90 days if nothing is provided
     */
    //inactiveTime: 90, // days

    /*  CryptPad archives some data instead of deleting it outright.
     *  This archived data still takes up space and so you'll probably still want to
     *  remove these files after a brief period.
     *
     *  cryptpad/scripts/evict-inactive.js is intended to be run daily
     *  from a crontab or similar scheduling service.
     *
     *  The intent with this feature is to provide a safety net in case of accidental
     *  deletion. Set this value to the number of days you'd like to retain
     *  archived data before it's removed permanently.
     *
     *  defaults to 15 days if nothing is provided
     */
    //archiveRetentionTime: 15,

    /*  It's possible to configure your instance to remove data
     *  stored on behalf of inactive accounts. Set 'accountRetentionTime'
     *  to the number of days an account can remain idle before its
     *  documents and other account data is removed.
     *
     *  Leave this value commented out to preserve all data stored
     *  by user accounts regardless of inactivity.
     */
     //accountRetentionTime: 365,

    /*  Starting with CryptPad 3.23.0, the server automatically runs
     *  the script responsible for removing inactive data according to
     *  your configured definition of inactivity. Set this value to `true`
     *  if you prefer not to remove inactive data, or if you prefer to
     *  do so manually using `scripts/evict-inactive.js`.
     */
    //disableIntegratedEviction: true,


    /*  Max Upload Size (bytes)
     *  this sets the maximum size of any one file uploaded to the server.
     *  anything larger than this size will be rejected
     *  defaults to 20MB if no value is provided
     */
    maxUploadSize: 1024 * 1024 * 1024,

    /*  Users with premium accounts (those with a plan included in their customLimit)
     *  can benefit from an increased upload size limit. By default they are restricted to the same
     *  upload size as any other registered user.
     *
     */
    //premiumUploadSize: 100 * 1024 * 1024,

    /* =====================
     *   DATABASE VOLUMES
     * ===================== */

    /*
     *  CryptPad stores each document in an individual file on your hard drive.
     *  Specify a directory where files should be stored.
     *  It will be created automatically if it does not already exist.
     */
    filePath: './datastore/',

    /*  CryptPad offers the ability to archive data for a configurable period
     *  before deleting it, allowing a means of recovering data in the event
     *  that it was deleted accidentally.
     *
     *  To set the location of this archive directory to a custom value, change
     *  the path below:
     */
    archivePath: './data/archive',

    /*  CryptPad allows logged in users to request that particular documents be
     *  stored by the server indefinitely. This is called 'pinning'.
     *  Pin requests are stored in a pin-store. The location of this store is
     *  defined here.
     */
    pinPath: './data/pins',

    /*  if you would like the list of scheduled tasks to be stored in
        a custom location, change the path below:
    */
    taskPath: './data/tasks',

    /*  if you would like users' authenticated blocks to be stored in
        a custom location, change the path below:
    */
    blockPath: './block',

    /*  CryptPad allows logged in users to upload encrypted files. Files/blobs
     *  are stored in a 'blob-store'. Set its location here.
     */
    blobPath: './blob',

    /*  CryptPad stores incomplete blobs in a 'staging' area until they are
     *  fully uploaded. Set its location here.
     */
    blobStagingPath: './data/blobstage',

    decreePath: './data/decrees',

    /* CryptPad supports logging events directly to the disk in a 'logs' directory
     * Set its location here, or set it to false (or nothing) if you'd rather not log
     */
    logPath: './data/logs',

    /* =====================
     *       Debugging
     * ===================== */

    /*  CryptPad can log activity to stdout
     *  This may be useful for debugging
     */
    logToStdout: false,

    /* CryptPad can be configured to log more or less
     * the various settings are listed below by order of importance
     *
     * silly, verbose, debug, feedback, info, warn, error
     *
     * Choose the least important level of logging you wish to see.
     * For example, a 'silly' logLevel will display everything,
     * while 'info' will display 'info', 'warn', and 'error' logs
     *
     * This will affect both logging to the console and the disk.
     */
    logLevel: 'info',

    /*  clients can use the /settings/ app to opt out of usage feedback
     *  which informs the server of things like how much each app is being
     *  used, and whether certain clientside features are supported by
     *  the client's browser. The intent is to provide feedback to the admin
     *  such that the service can be improved. Enable this with `true`
     *  and ignore feedback with `false` or by commenting the attribute
     *
     *  You will need to set your logLevel to include 'feedback'. Set this
     *  to false if you'd like to exclude feedback from your logs.
     */
    logFeedback: false,

    /*  CryptPad supports verbose logging
     *  (false by default)
     */
    verbose: false,

    /*  Surplus information:
     *
     *  'installMethod' is included in server telemetry to voluntarily
     *  indicate how many instances are using unofficial installation methods
     *  such as Docker.
     *
     */
    installMethod: 'docker',
};
Veillez à éditer ces trois lignes:
- httpUnsafeOrigin: 'https://cryptpad.domaine.com', => indiquez votre domaine principal à la place de https://cryptpad.domaine.com.
- httpSafeOrigin: "https://sandbox.domaine.com", => indiquez votre domaine sandbox à la place de https://sandbox.domaine.com.
- maxUploadSize: 1024 * 1024 * 1024, => de cette manière l'utilisateur pourra envoyer des fichiers de 1 Go. Libre à vous de changer la taille. De base c'est 20 Mo.
Vous pouvez retrouver la valeur par défaut en modifiant la ligne comme ceci:
//maxUploadSize: 20 * 1024 * 1024,- On va créer le dossier logs:
sudo mkdir data/logs- On installe l'application:
docker-compose up -d
ou avec docker-compose V2:
docker compose up -d- Attendez 5 minutes avant de poursuivre le tutoriel car onlyoffice va être déployé.
- On va donner les droits nécessaires au dossier data:
sudo chown -R 4001:4001 data- Et pour finir, redémarrez CryptPad:
docker restart cryptpad- Rendez-vous sur votre domaine, celui pour les utilisateurs, pas pour la sandbox.
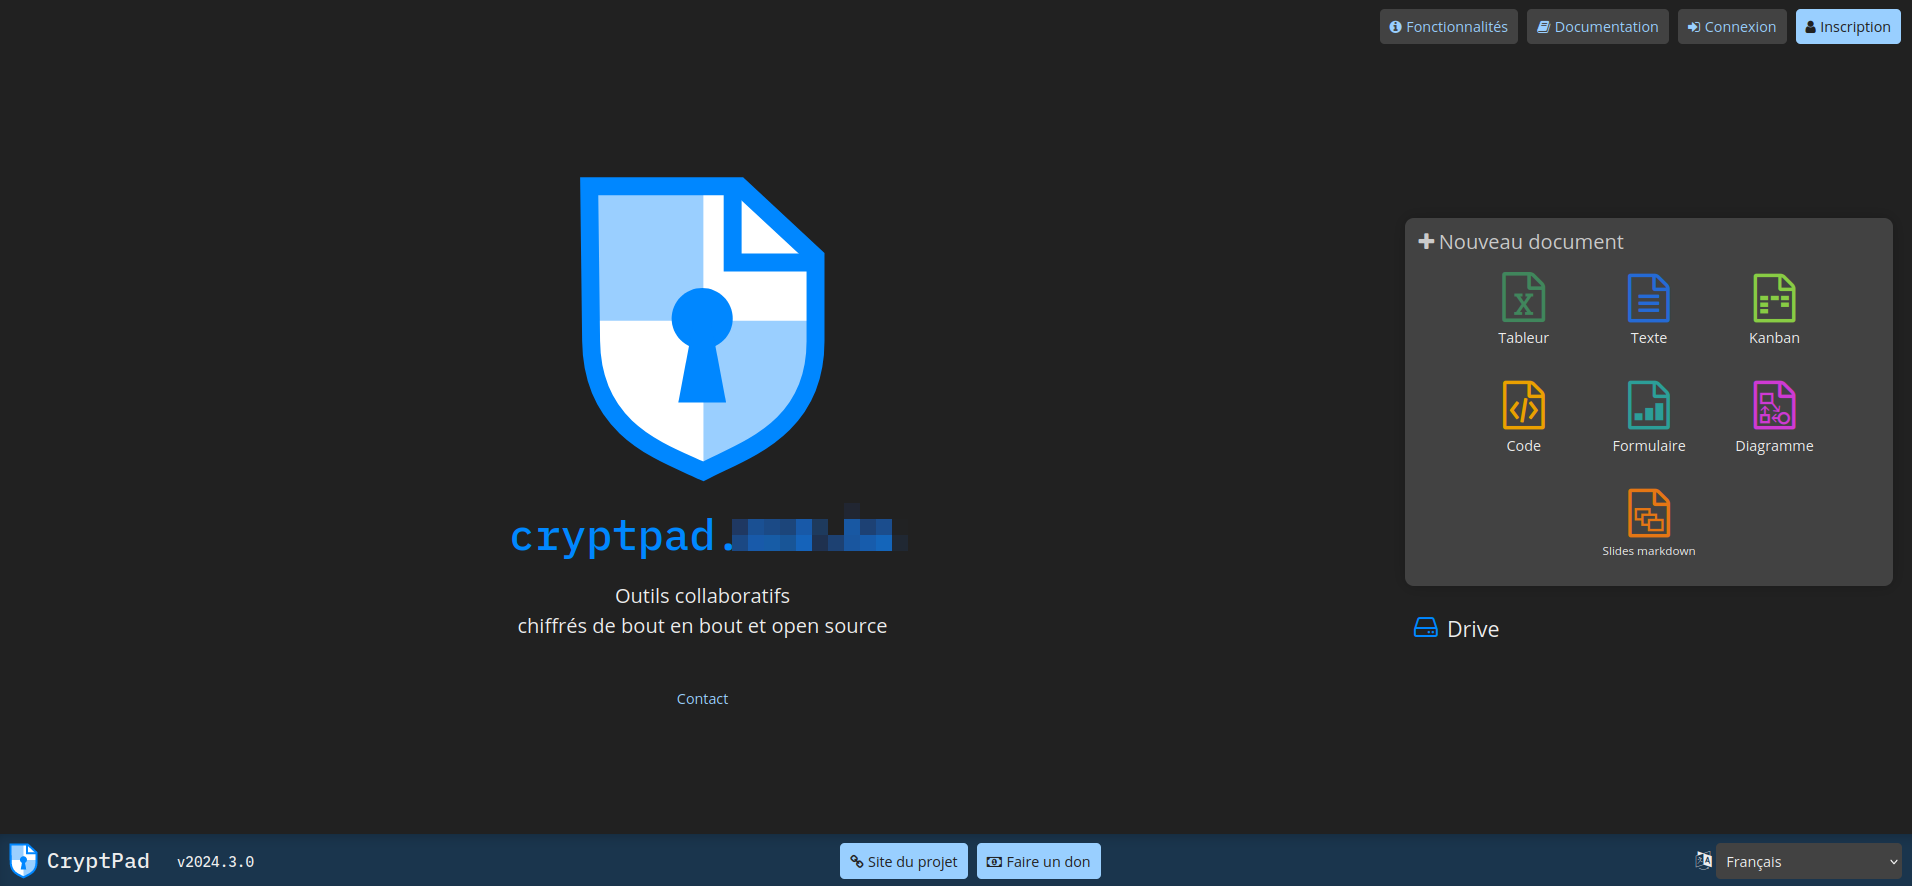
Créer son compte utilisateur
Sachez que pour avoir un compte administrateur (et l'interface d'administration qui va avec), cela se passe en deux temps. En premier il va falloir tout simplement créer un compte utilisateur simple.
En haut à droite, cliquez sur Inscription:

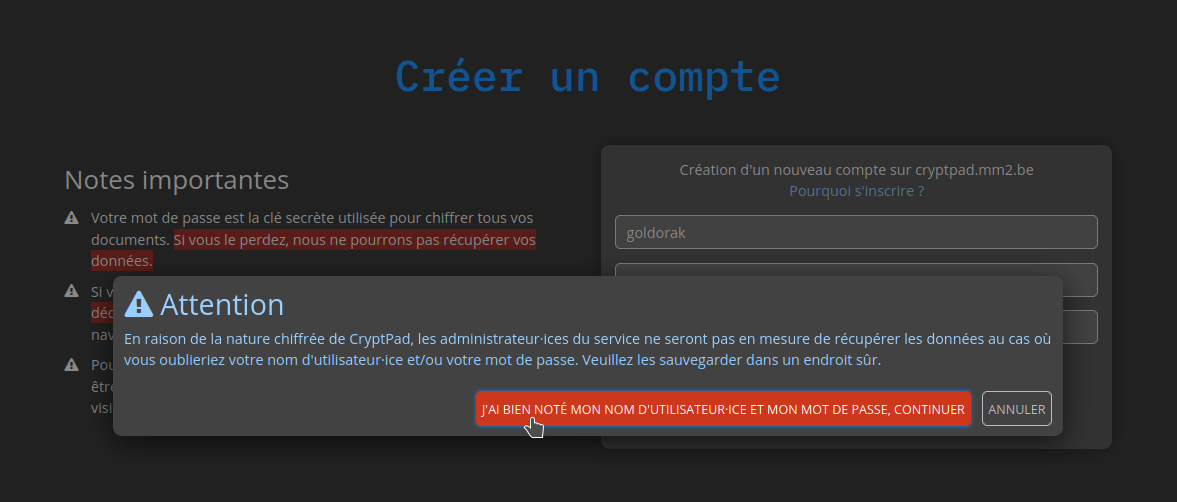
Remplissez les informations demandées, validez en cliquant sur Inscription:
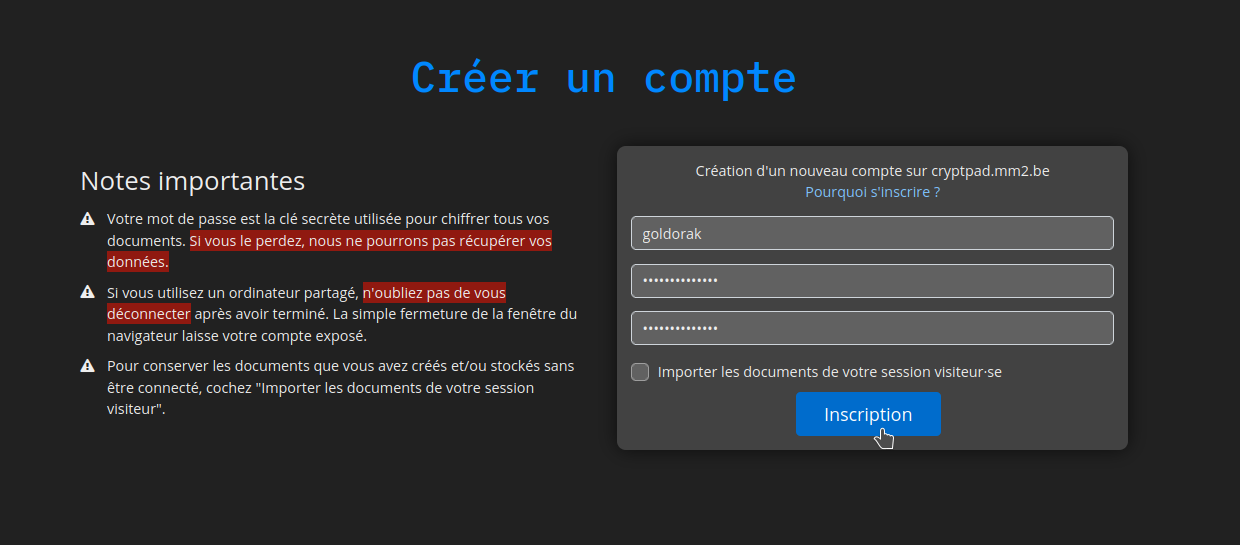
Message d'avertissement, validez en cliquant sur la zone rouge:
Encore quelques petites secondes de patience:
Vous voilà sur votre tableau de bord:

Transformer un compte utilisateur en compte administrateur
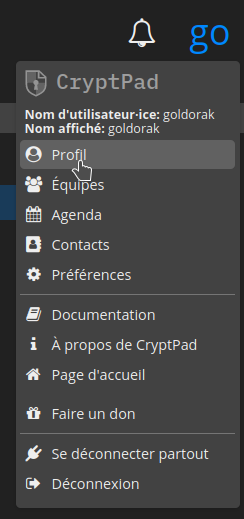
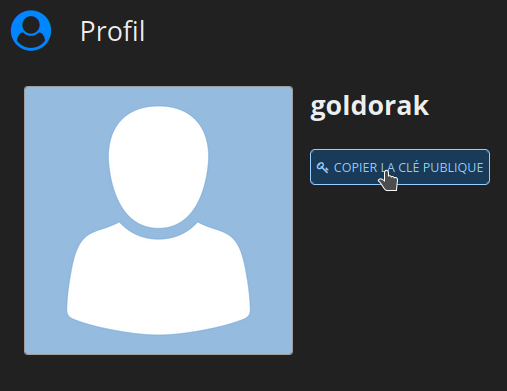
La première chose à faire c'est de vous rendre en haut à droite et de cliquez sur Profil:
Ensuite cliquez sur VOIR MON PROFIL et mettez-là précieusement de côté.
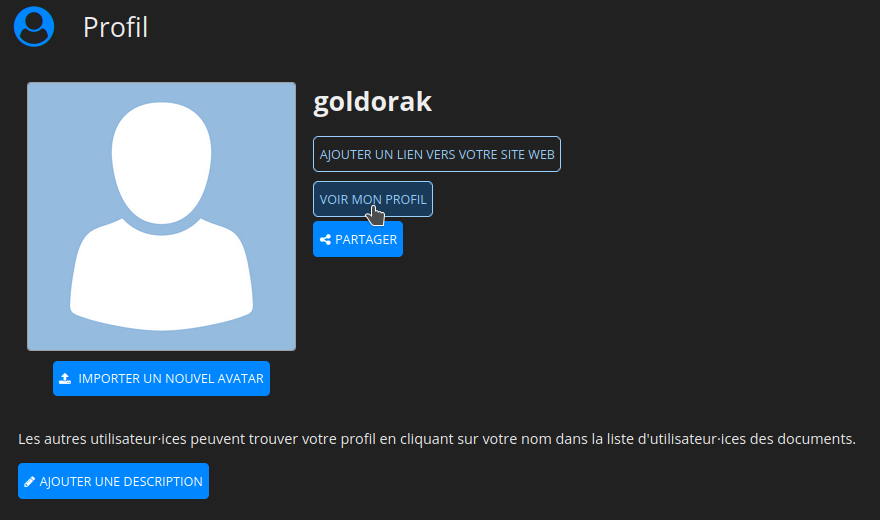
Cliquez sur COPIER LA CLÉ PUBLIQUE:
Maintenant, il va falloir éditer le fichier config.js qui est dans le dossier config qui lui-même se trouve dans le dossier cryptpad. Oyé!
sudo nano config.jsRepérez cette partie dans le fichier:
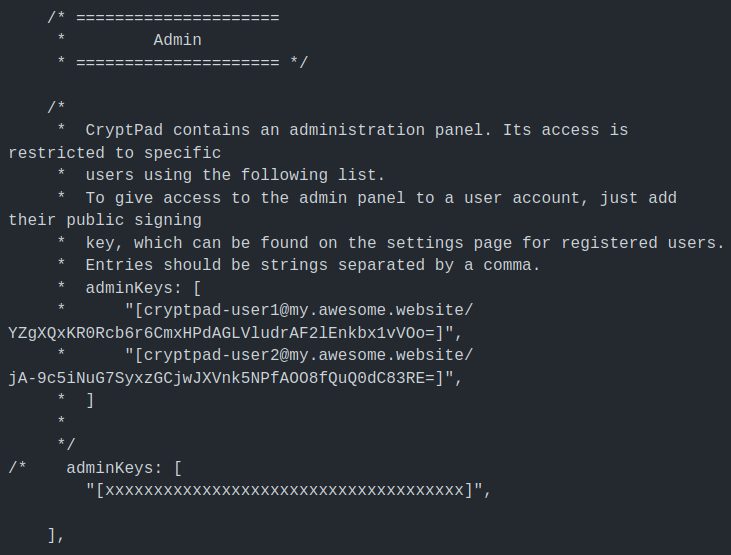
Mettez votre curseur juste après /* et effacez /*.
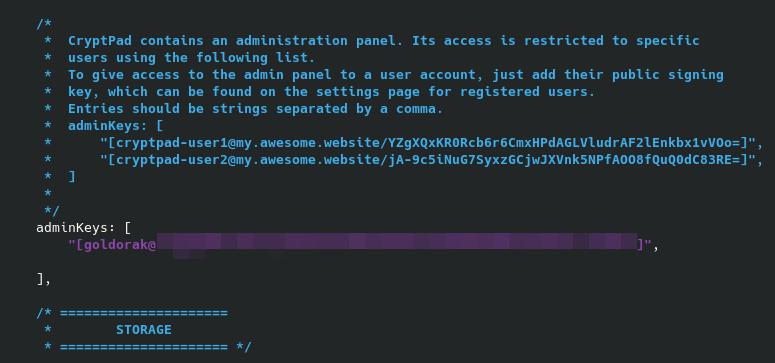
Vous vous souvenez que je vous ai demandé de mettre votre clé publique de côté? Et bien c'est maintenant qu'il va falloir la ressortir et placer votre clé entre les oreilles de lapin, je veux dire => " ".
Le résultat final doit ressembler à ça:
Pour terminer, redémarrez CryptPad:
docker restart cryptpadAccéder à l'interface d'administration
Ajoutez /admin à la fin de votre domaine (https://domaine.com/admin) et....et...
Vous arrivez sur la page d'administration.
Et tadam!
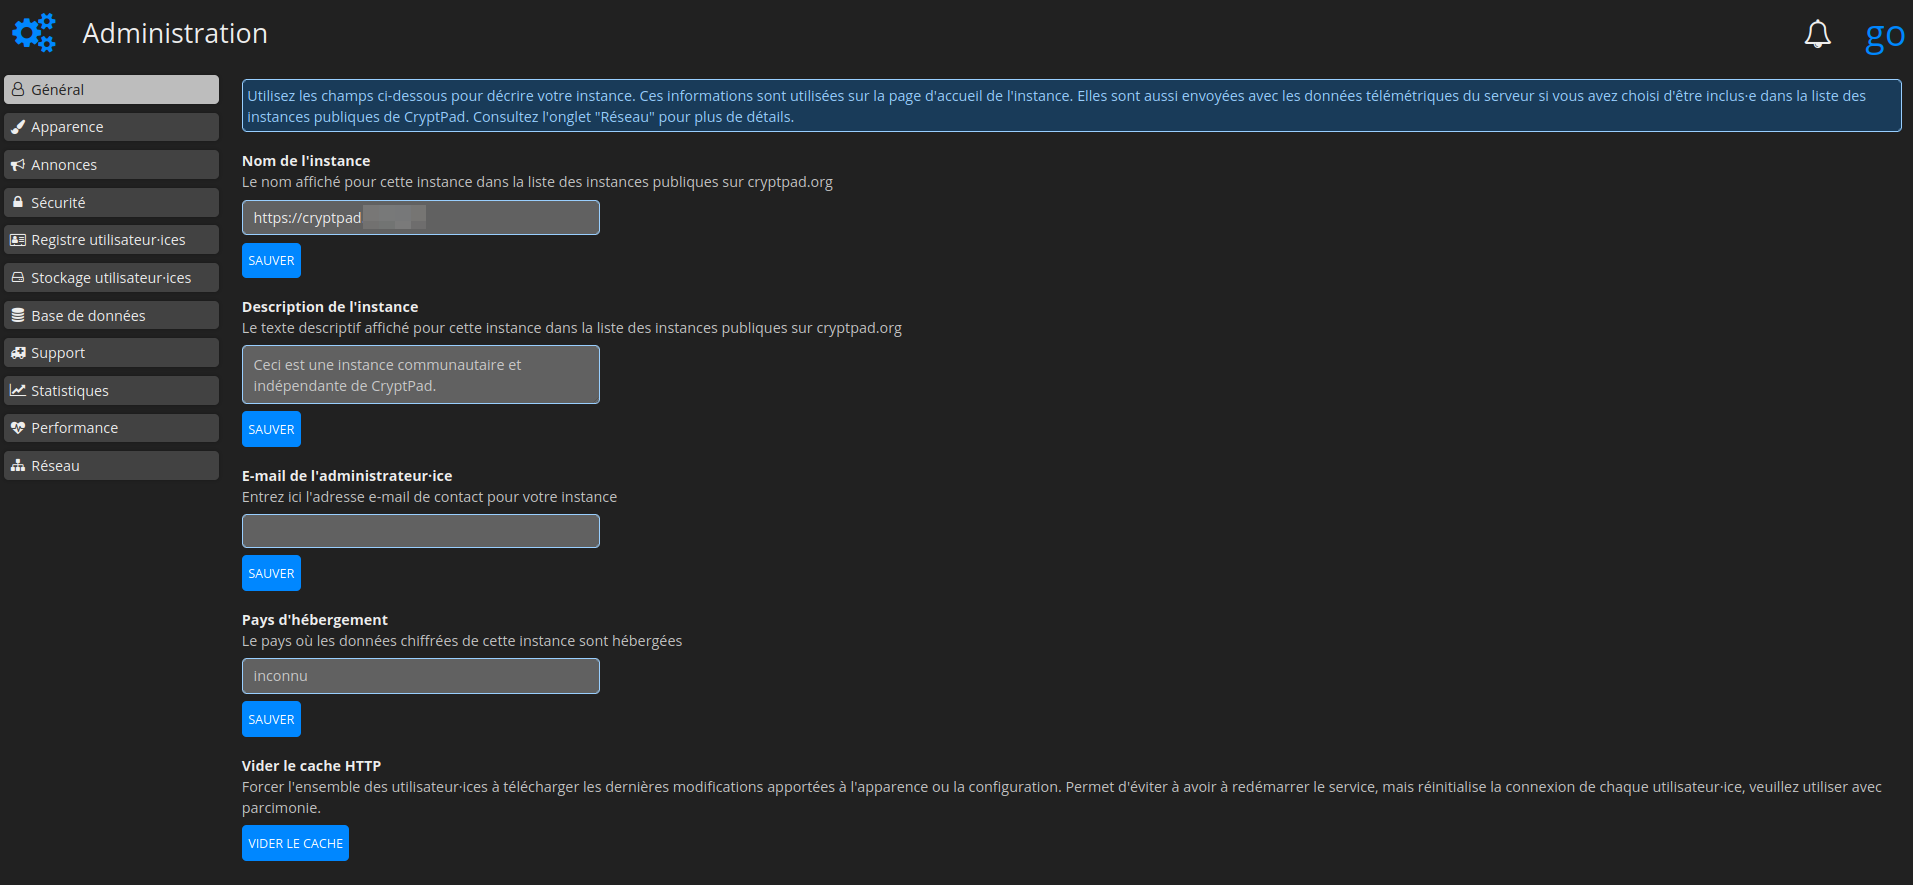
Modifier l'apparence
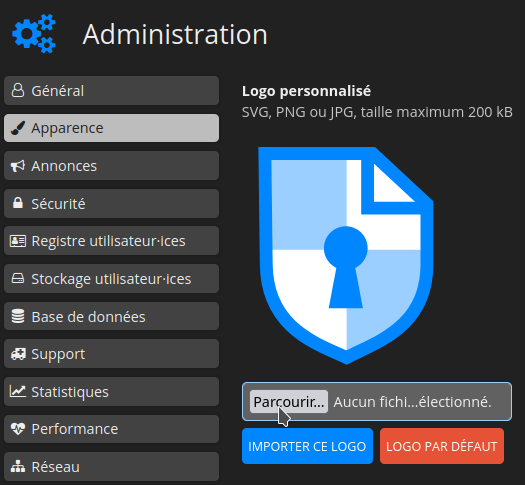
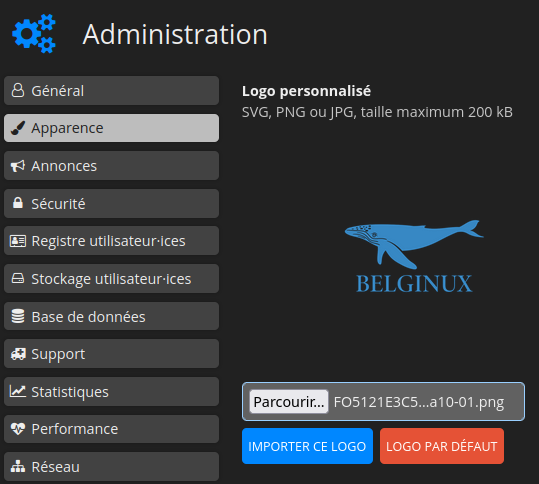
Cliquez dans la colonne de gauche sur Apparence:
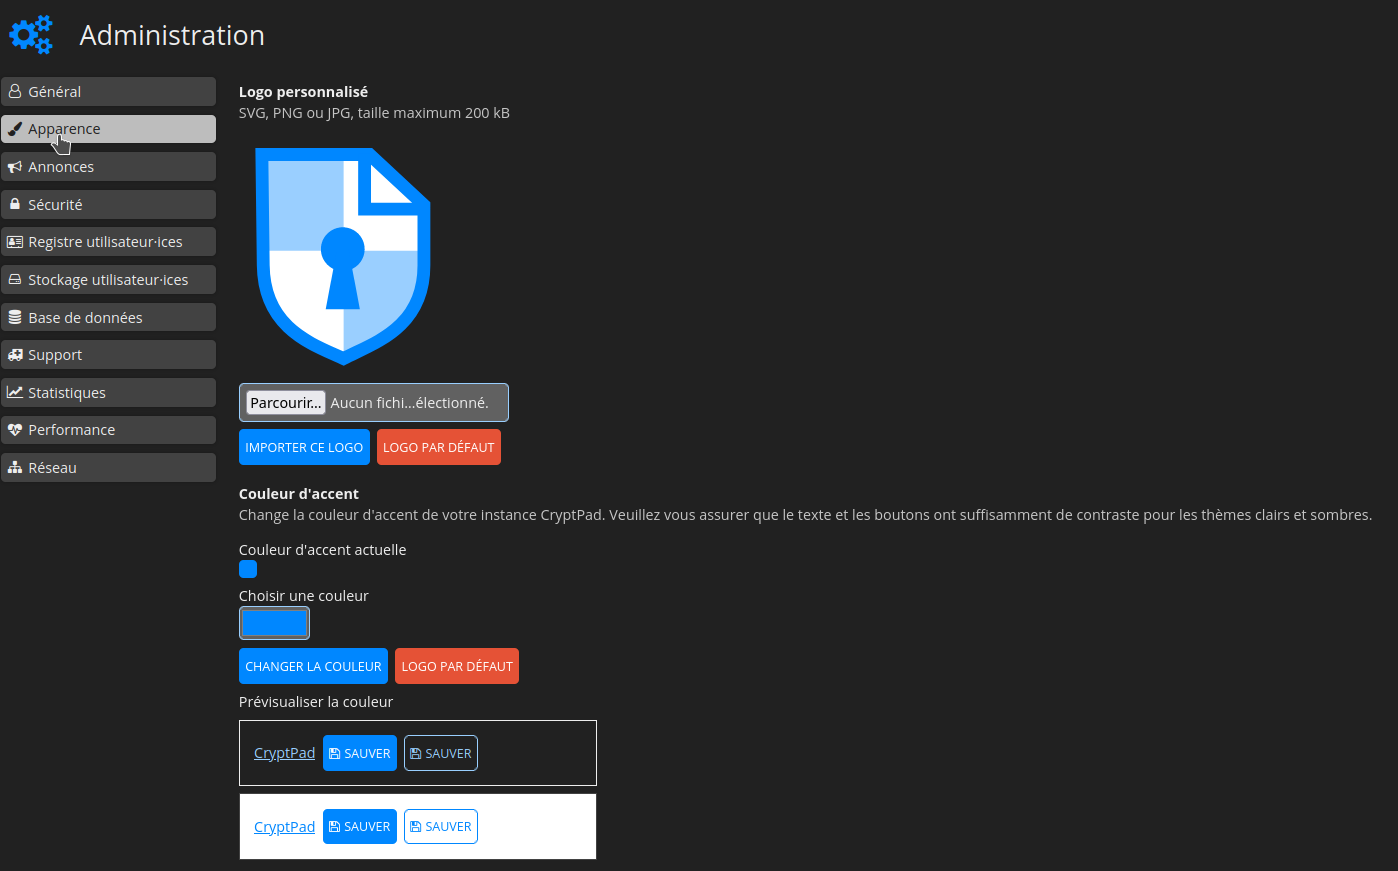
Cliquez sur Parcourir... et choisissez votre logo:
Cliquez sur IMPORTER CE LOGO:
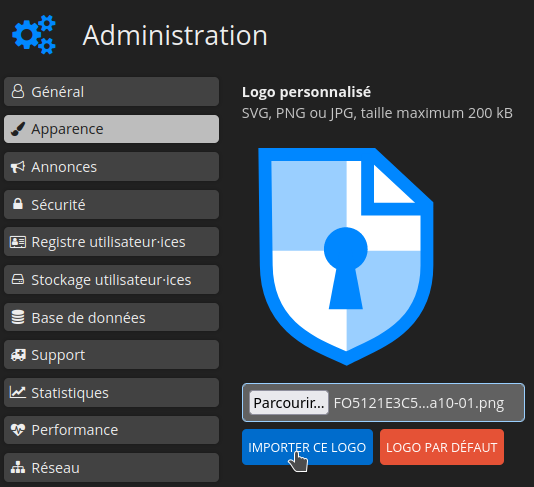
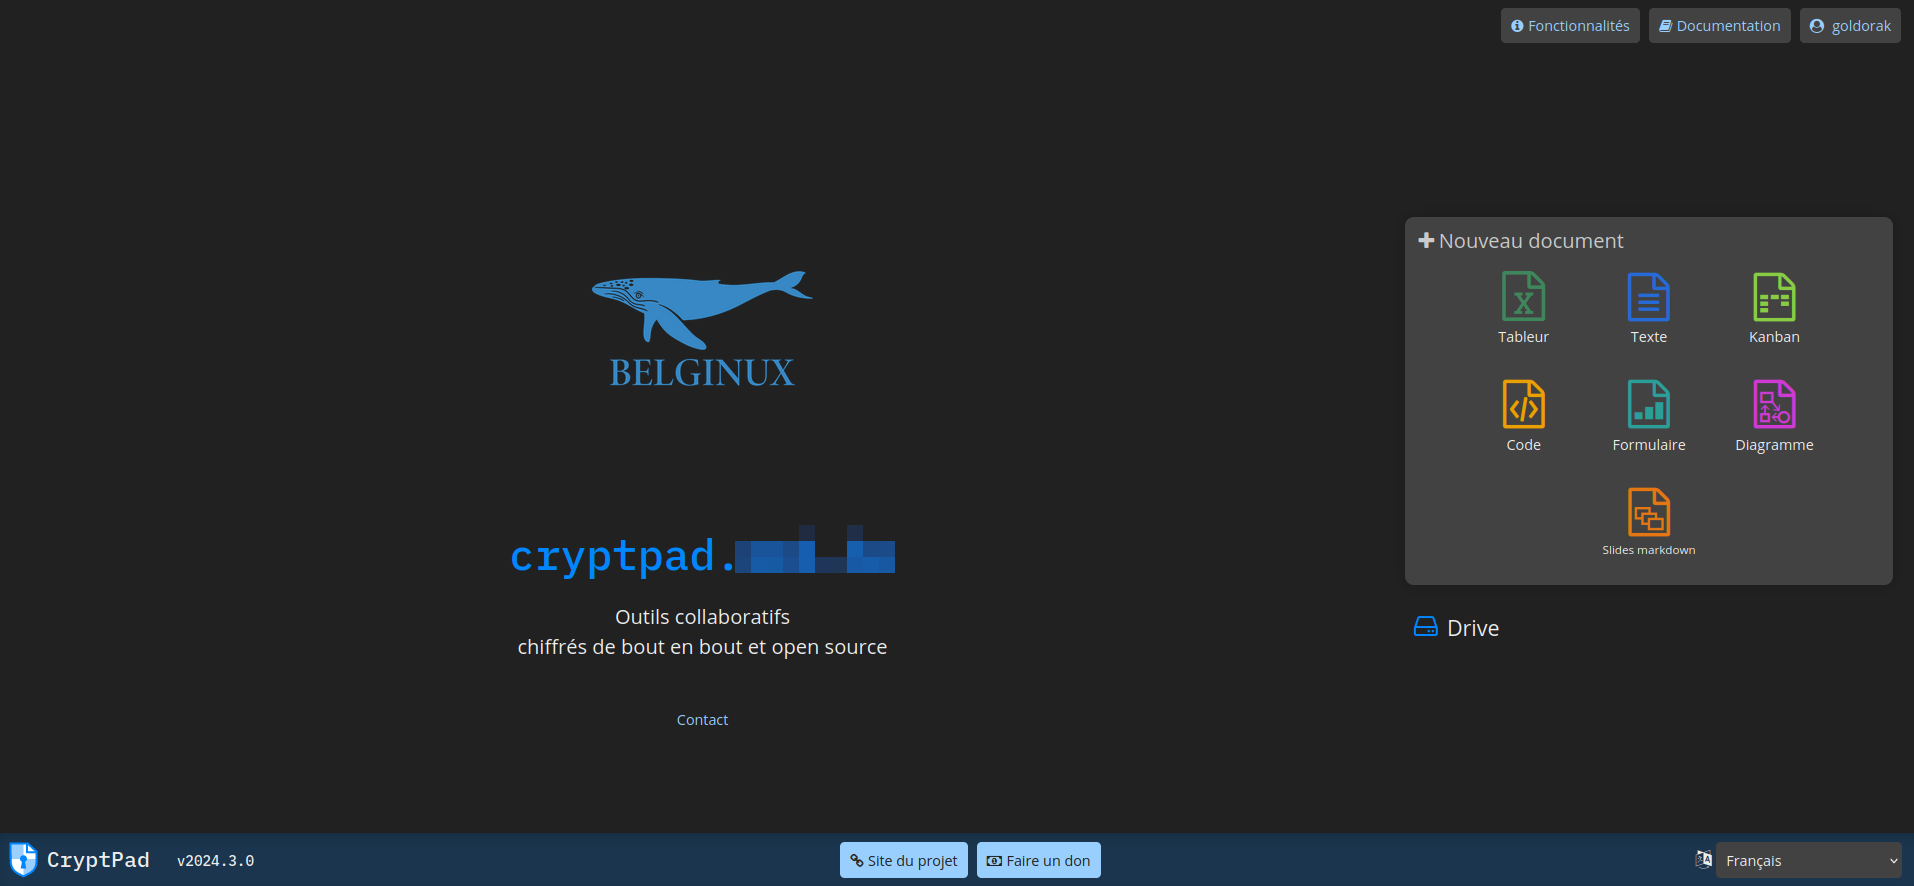
Le logo est bien présent:
Ce qui donne:
Configurer une annonce
Dans la colonne de gauche, cliquez sur Annonces, entrez le message souhaité dans Notice sur la page d'accueil et validez en cliquant sur SAUVER:
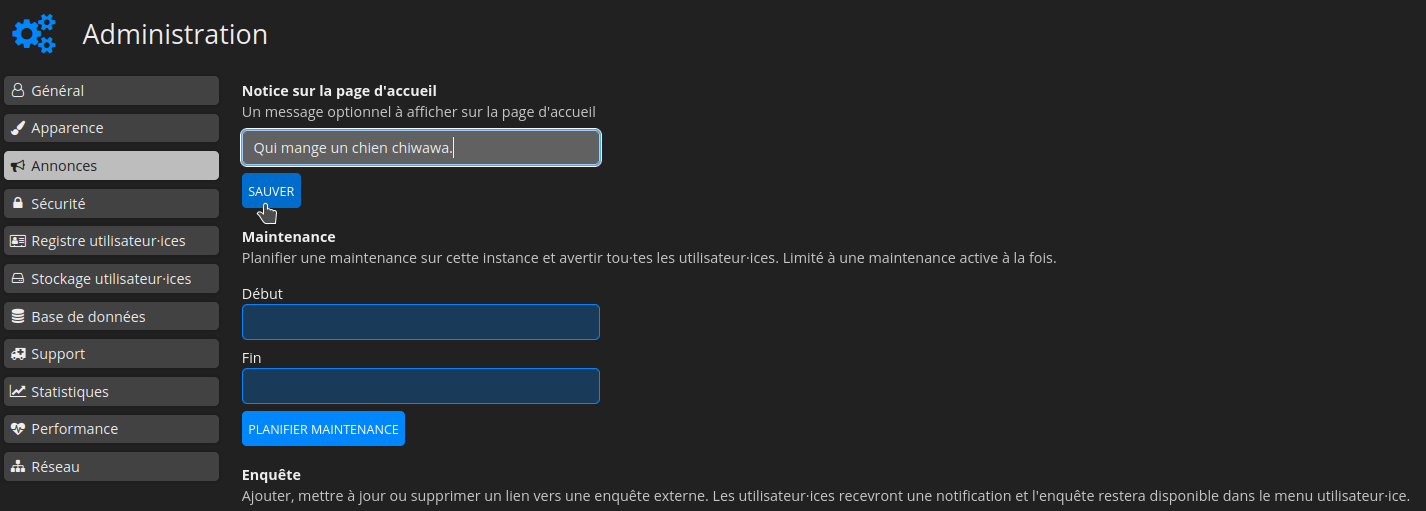
Wouaw:

Changer la limite de stockage
Nous avons vu plus haut comment définir la taille des fichiers qui peuvent-être envoyés.
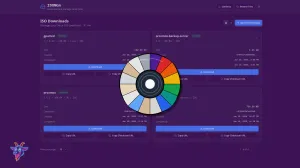
Dans la colonne de gauche, cliquez sur Stockage utilisateur.ices:
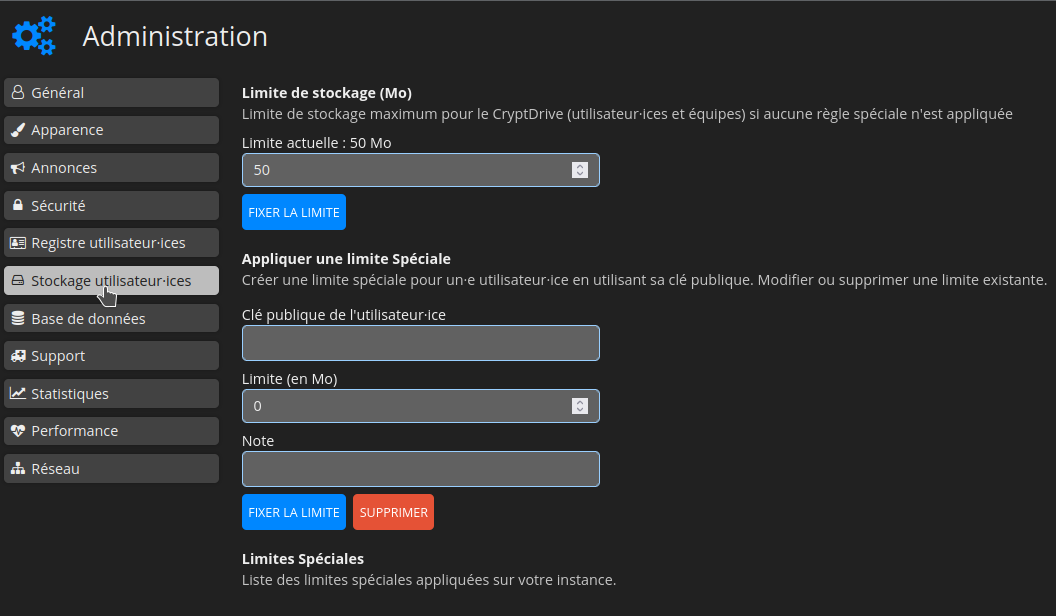
Indiquez le nombre de Mo souhaités, par exemple 2048, cliquez sur FIXER LA LIMITE pour valider:
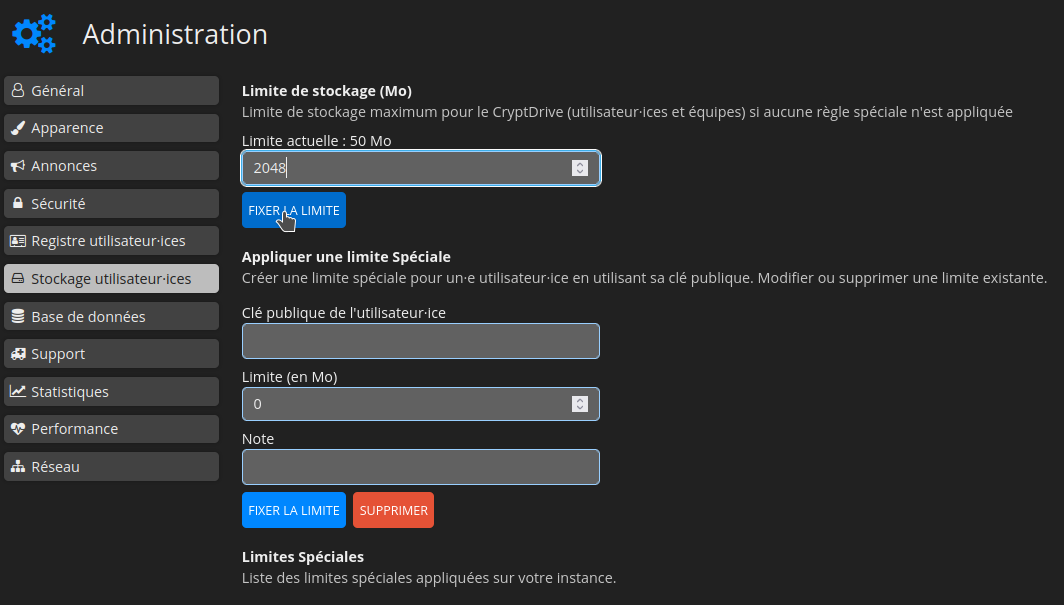
En bas à gauche vous pouvez constater que la limite est bien changée:

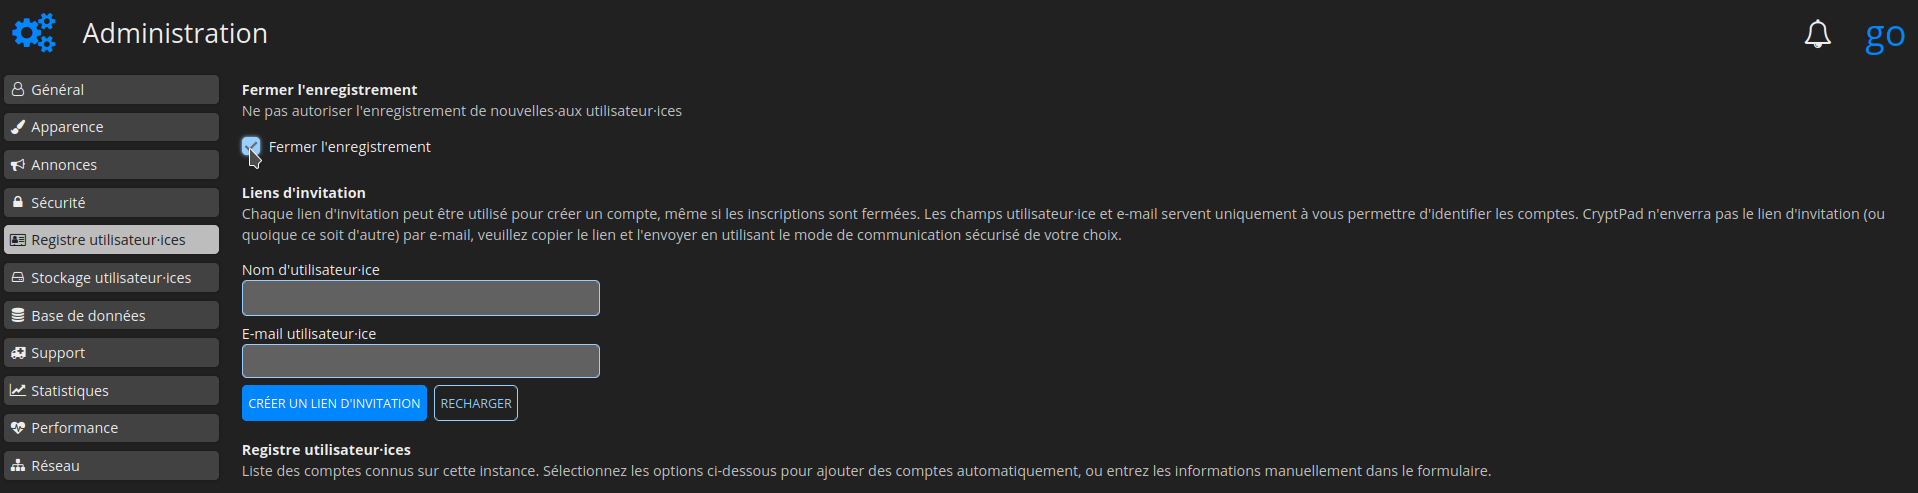
Interdire l'inscription
Afin d'empêcher toute nouvelle inscription, rendez-vous dans la colonne de gauche, partie Registre utilisateurs.ices et cochez Fermer l'enregistrement:
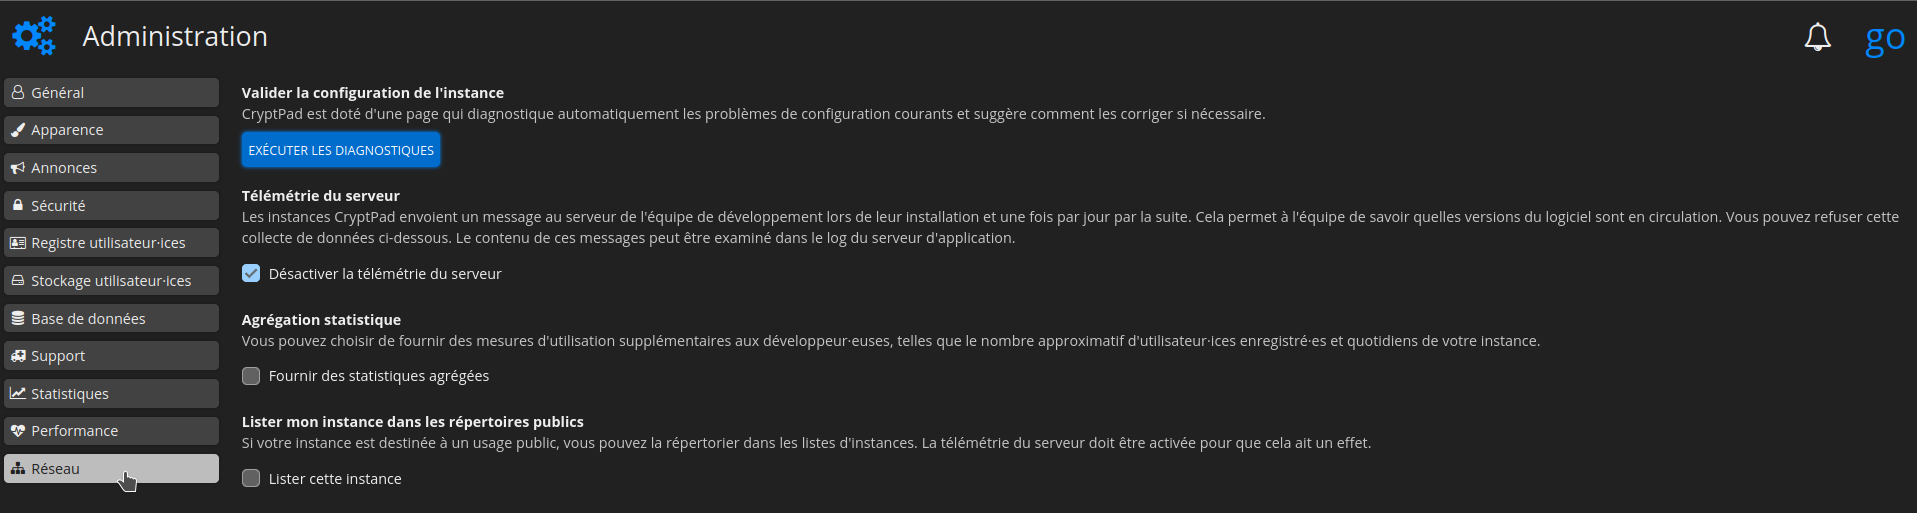
⚠️ Désactiver la télémétrie
Si vous ne souhaitez pas envoyer les informations de télémétrie, dans la colonne de gauche, cliquez sur Réseau et cochez Désactiver la télémétrie du serveur:
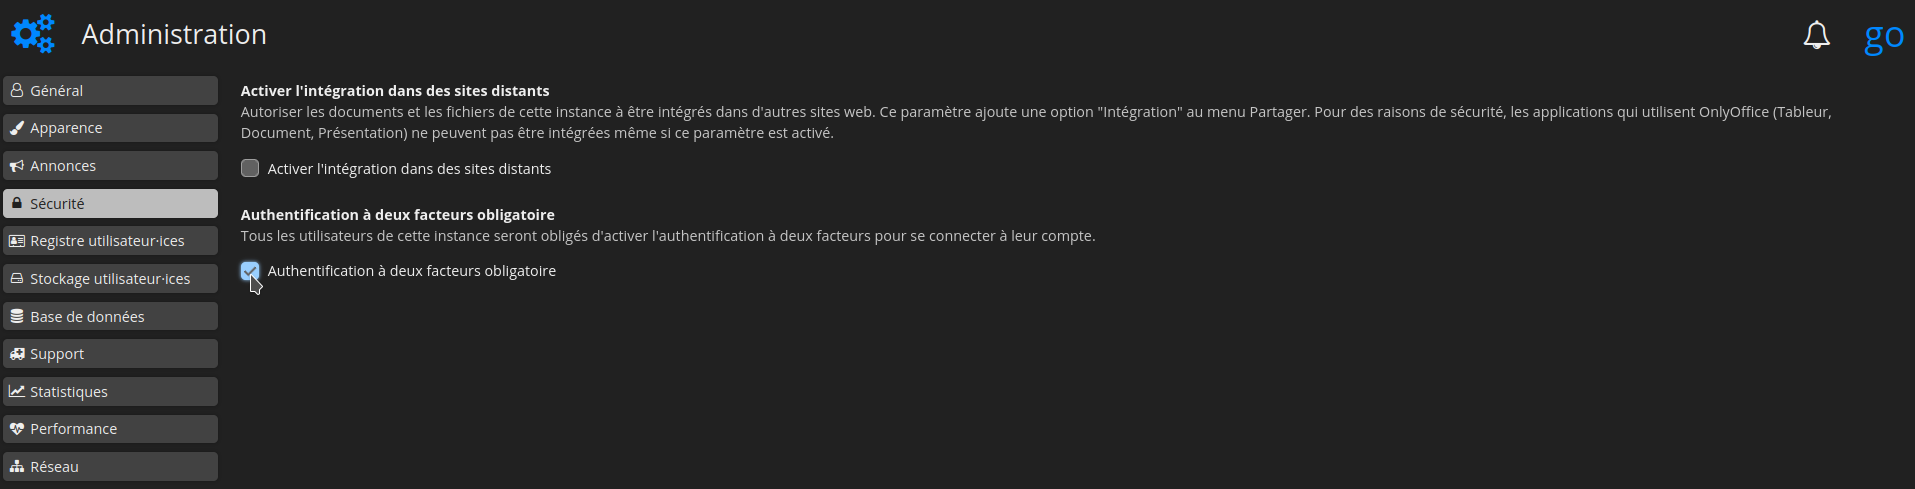
Rendre l'authentification à deux facteurs obligatoire
Dans la colonne de gauche, encore et toujours, cliquez sur Sécurité et cochez ensuite Authentification à deux facteurs obligatoire:
Quelques images


